When creating fields in Snapforce, field types determine how information is entered into these fields, as well as how the fields are displayed.
The following field types are available:
Checkbox - This will display a checkbox in which the user has the option to check or uncheck the box in response to the label.
Currency - This will convert any number entered into a dollar amount.
Number - This will allow you to enter numbers into the field.
Auto-Increment - This will assign a number to a record, beginning with '1'. Any record added after that will be assigned the next available number. (Note: You can set the current value that the number will start from by changing the field's default value in the Settings area.)
Time - This will allow you to enter numbers in time format.
Date - This will display the field in date format. When the field is being edited, a calendar will pop up for the date to be selected.
Email - This will allow you to enter an e-mail address. An e-mail link will appear next to the e-mail address, that when clicked, will open your default mail application and begin to draft an e-mail to that address.
Website -This will allow you to enter a website. A website link will appear next to the entered text, that when clicked, will open the website in a new tab.
Phone - This will allow you to enter a phone number. A call link will appear next to the entered number, that when clicked, will open your default softphone and begin to dial the number.
Picklist - This will allow you to set values that a user will need to choose from.
Multi-select Picklist - This will allow you to set values that a user will need to choose from. The users can select as many values as needed.
Text - This will display a single-line text box that will allow users to enter a short amount of text.
Text Area -This will display a text box that will allow users to enter a larger amount of text.
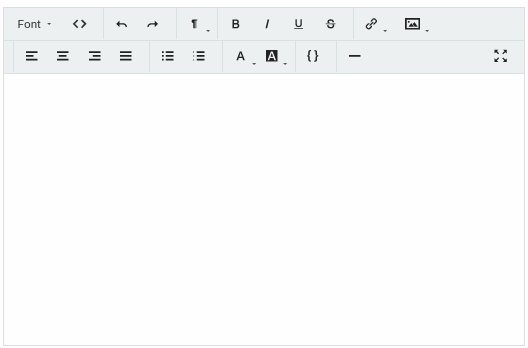
Rich Text Area - This will display a rich text box in which HTML and other formatting can be applied.

Lookup - This will display a box in which users can begin typing the name of an existing record within that module. Once a match is found, the record will appear and the user can select this record to have it populate the text box. Also displayed is a view link next to the entry. This link will take you directly to that record.
